第三方应用开发(基于 Egg.js )
更新时间:2018-07-03 23:40:21
本文将以开发一个 RGB智能灯的服务端应用为例,介绍第三方服务端应用的开发过程,方案基于 Node.js 和 eggjs 框架。
前期准备
软件安装
安装 Node.js LTS 版本(>=8.9):https://nodejs.org/zh-cn/
文本编辑器:VSCode / Sublime / Vim...
开发过程
初始化应用目录
一、安装 egg-init 工具,执行:
npm install -g egg-init
二、创建应用目录,执行:
egg-init app-eggjs
选择“simple - Simple egg app boilerplate”,然后一路回车,完成目录创建:

进入项目目录并安装依赖:
cd app-eggjs
npm install
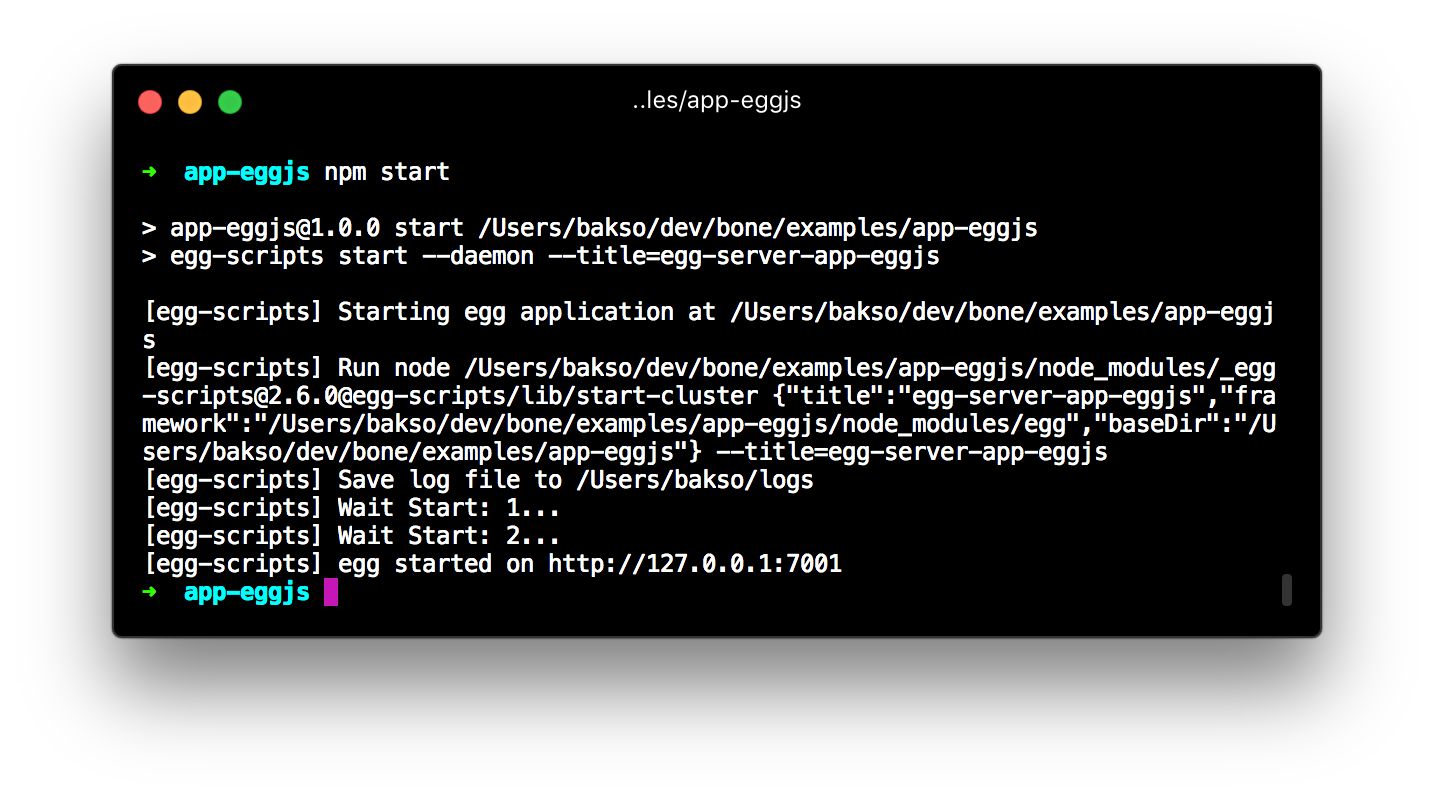
三、 启动应用本地调试服务
在项目目录下执行:
npm run dev
四、访问应用
用浏览器访问:
http://127.0.0.1:7001/
可以看到页面上输出了 “hi, egg”:

代码开发
一、安装 aliyun-api-gateway 和 egg-view-nunjucks,在项目目录执行:
npm install --save aliyun-api-gateway egg-view-nunjucks
二、添加配置项
修改 config/config.default.js 文件,将前一步申请到的 AK、AS 添加到配置项,方便后续使用;同时配置 nunjucks 作为默认模板引擎:
'use strict';

module.exports = appInfo => {
  const config = exports = {};

  // use for cookie sign key, should change to your own and keep security
  config.keys = appInfo.name + '_1526880651009_8352';

  // add your config here
  config.middleware = [];

  // 配置 appKey、appSecret
  config.appKey = '24899421';
  config.appSecret = 'd2191191b45d1eb0931816842bccd07b';
  // 使用 nunjuncks 作默认模板引擎
  config.view = {
    defaultViewEngine: 'nunjucks',
    mapping: {
      '.html': 'nunjucks',
    },
  };

  return config;
};
config/plugin.js 中启用 nunjucks 插件:
'use strict';

// had enabled by egg
// exports.static = true;

exports.nunjucks = {
  enable: true,
  package: 'egg-view-nunjucks',
};
三、修改 app/router.js 路由文件,添加 post 路由:
'use strict';

/**
 * @param {Egg.Application} app - egg application
 */
module.exports = app => {
  const { router, controller } = app;
  router.get('/', controller.home.index);
  // 添加 post 路由
  router.post('/', controller.home.setProperties);
};
三、创建 app/service/apiclient.js 文件,封装 APIClient service,方便对物的管理服务进行调用:
'use strict';

const Service = require('egg').Service;
const Client = require('aliyun-api-gateway').Client;

class ApiClient extends Service {
  getClient() {
    if (!this.client) {
      // 使用配置中的 AppKey 以及 AppSecret 创建阿里云 API 网关 Client
      this.client = new Client(this.config.appKey, this.config.appSecret);
    }

    return this.client;
  }

  async post(apiPath, apiVer, params) {
    const client = this.getClient();

    let response = null;
    try {
      // LinkDevelop 平台的 URL 为 http://api.link.aliyun.com
      // 该地址可以在 LinkDevelop 平台的资源管理》官方服务中通过查看 API 详情得到
      const apiurl = 'https://api.link.aliyun.com' + apiPath;
      const payload = {
        data: {
          id: new Date() * 1 + '',
          version: '1.0',
          request: {
            apiVer: apiVer || '',
          },
          params,
        },
      };
      response = await client.post(apiurl, payload);
    } catch (error) {
      this.ctx.logger.error('API Response Error', error);
      response = error;
    }
    return response || {};
  }
}

module.exports = ApiClient;
四、创建模板文件 app/view/index.html,用作视图文件:
<html>
  <head>
    <title>RGB 智能灯设备获取和控制</title>
    <style type="text/css">
      * { margin: 0; padding: 0 }
      #container {
        padding: 30px;
      }
      #input {
        width: 500px;
        height: 300px;
      }
      .submit-btn-wrap {
        margin: 10px 0 0 0;
      }
      #submit-btn {
        width: 200px;
        height: 50px;
        border: none;
        background-color:aqua;
      }
    </style>
  </head>
  <body>
    <div id="container">
      <form action="/" method="post"/>
        <textarea id="input" name="properties">{{properties}}</textarea>
        <div class="submit-btn-wrap">
          <button id="submit-btn" type="submit">设置属性</button>
        </div>
      </form>
    </div>
  </body>
</html>
五、完善 app/controller/home.js 文件,记得将 productKey 和 deviceName 换成设备开发步骤中的测试设备,并保证设备在线:
'use strict';

const Controller = require('egg').Controller;

// 设备 id 使用设备开发中注册的测试设备,并保持设备在线
const thingId = {
  productKey: '<productKey>',
  deviceName: '<deviceName>',
};

class HomeController extends Controller {
  async index() {
    // 获取设备属性
    const ret = await this.ctx.service.apiclient.post(
      '/thing/device/properties/query',
      '1.1.0',
      thingId
    );
    const data = ret.data;
    // 数据整理
    const properties = {};
    for (const key in data) {
      properties[data[key].attribute] = data[key].value;
    }
    await this.ctx.render('index.html', {
      properties: JSON.stringify(properties, null, 2),
    });
  }
  async setProperties() {
    // 设置设备属性
    const ret = await this.ctx.service.apiclient.post(
      '/thing/device/properties/set',
      '1.1.0',
      {
        ...thingId,
        properties: JSON.parse(this.ctx.request.body.properties),
      }
    );
    this.ctx.redirect('/');
  }
}

module.exports = HomeController;
用浏览器访问页面:
http://localhost:7001/
就能看到如下界面,说明设备的属性值已经获取成功了:
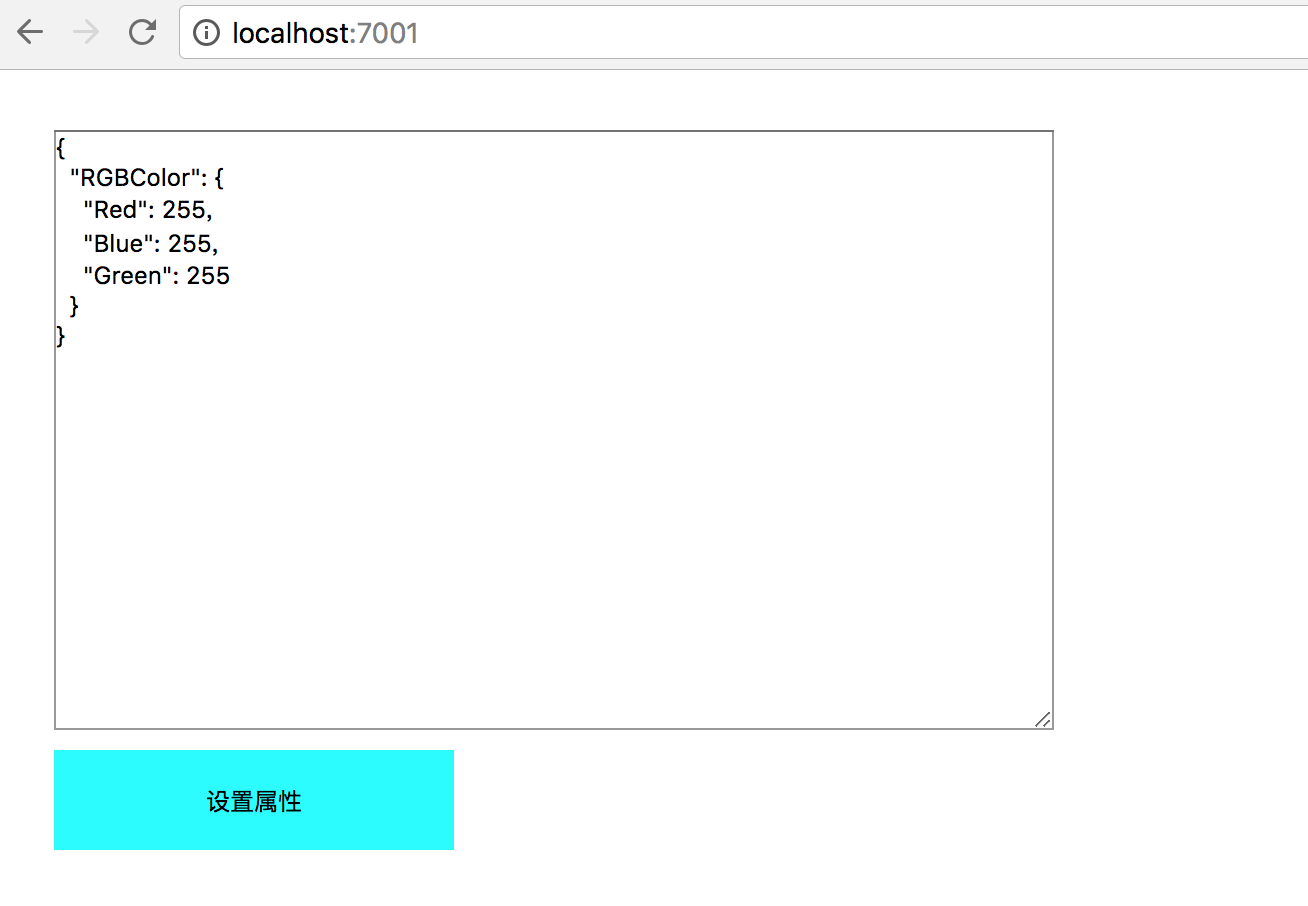
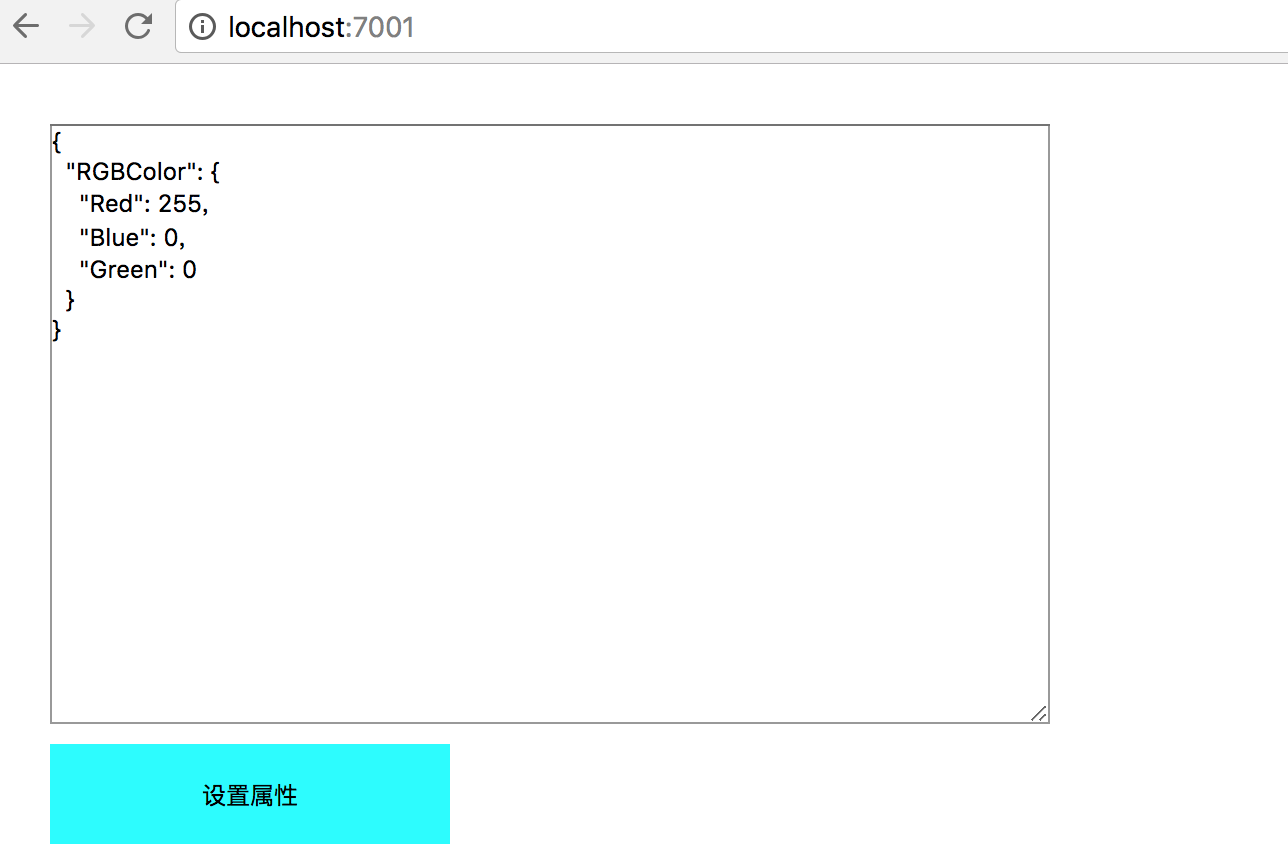
我们把输入框中的属性值改成:
{
  "RGBColor": {
    "Red": 255,
    "Blue": 0,
    "Green": 0
  }
}
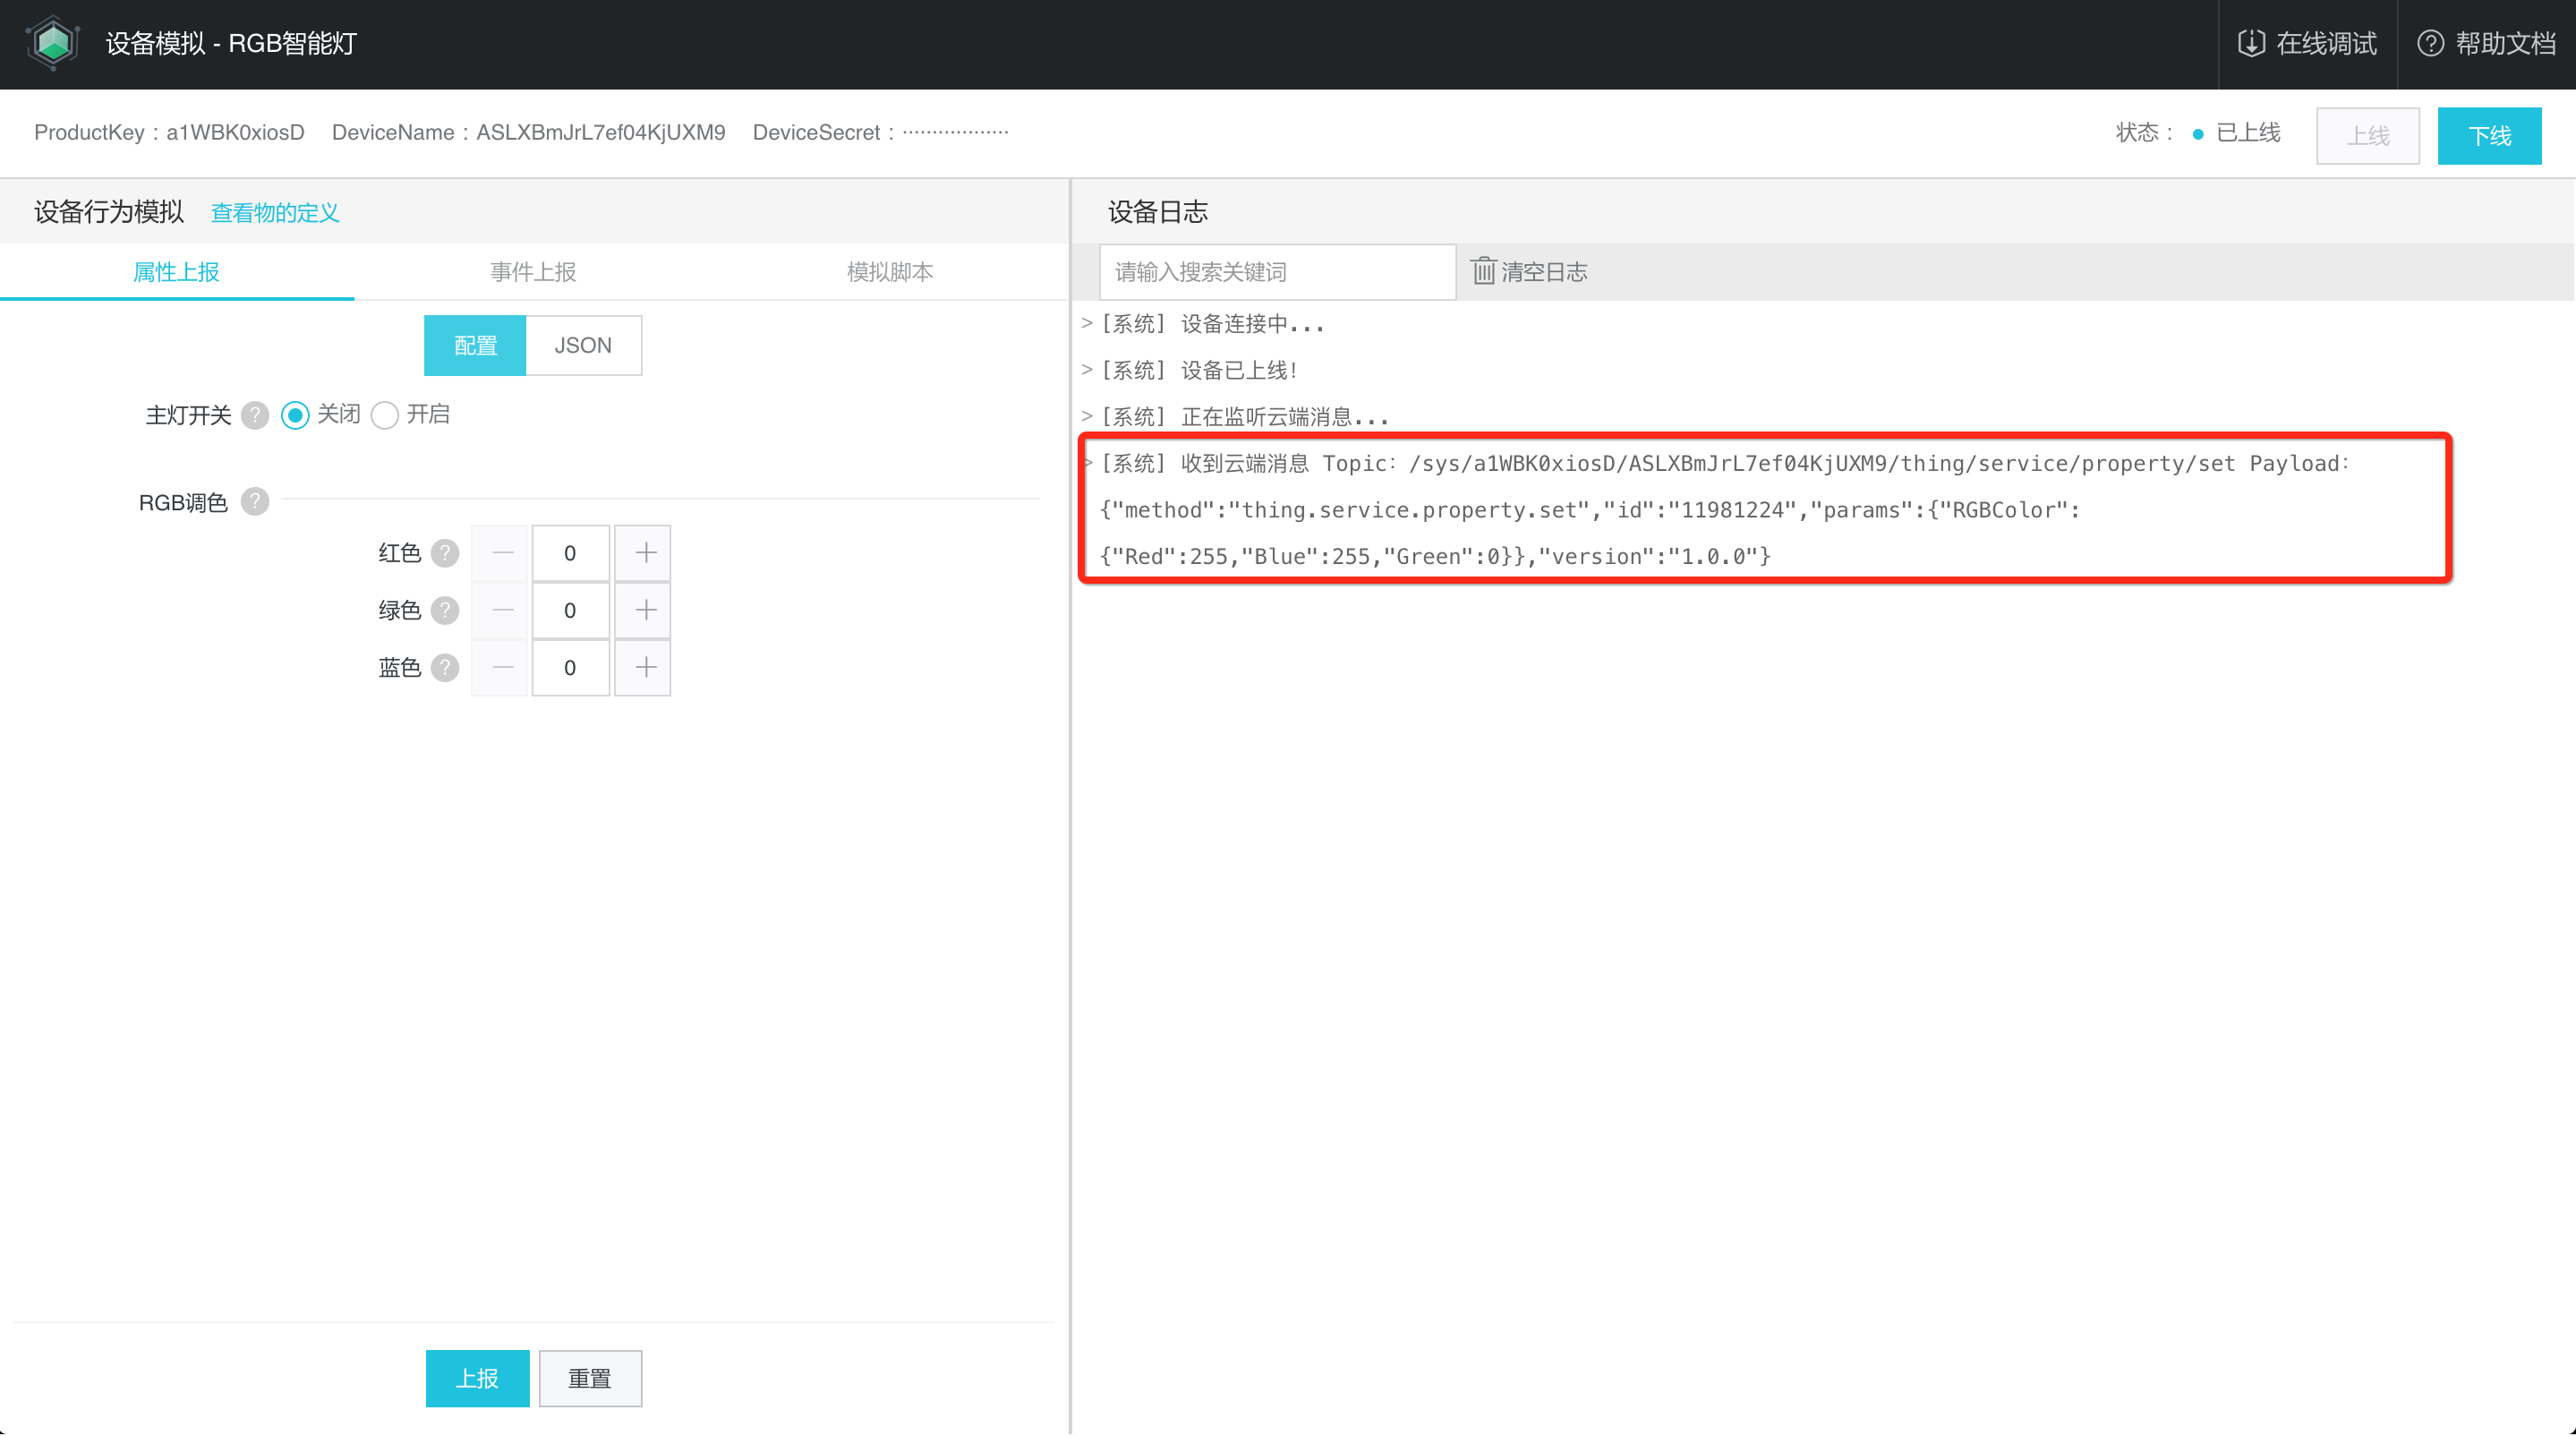
点击“设置属性”按钮,待页面刷新后,观察测试设备的日志接收情况,这里以 Web Device 模拟设备为例,可以看到 Web Device 模拟设备成功接收到到云端设置属性的消息:
将模拟设备的 RGBColor 属性值改成(255,255,0),点击“上报”,在右侧可以看到设备上报属性成功的消息:
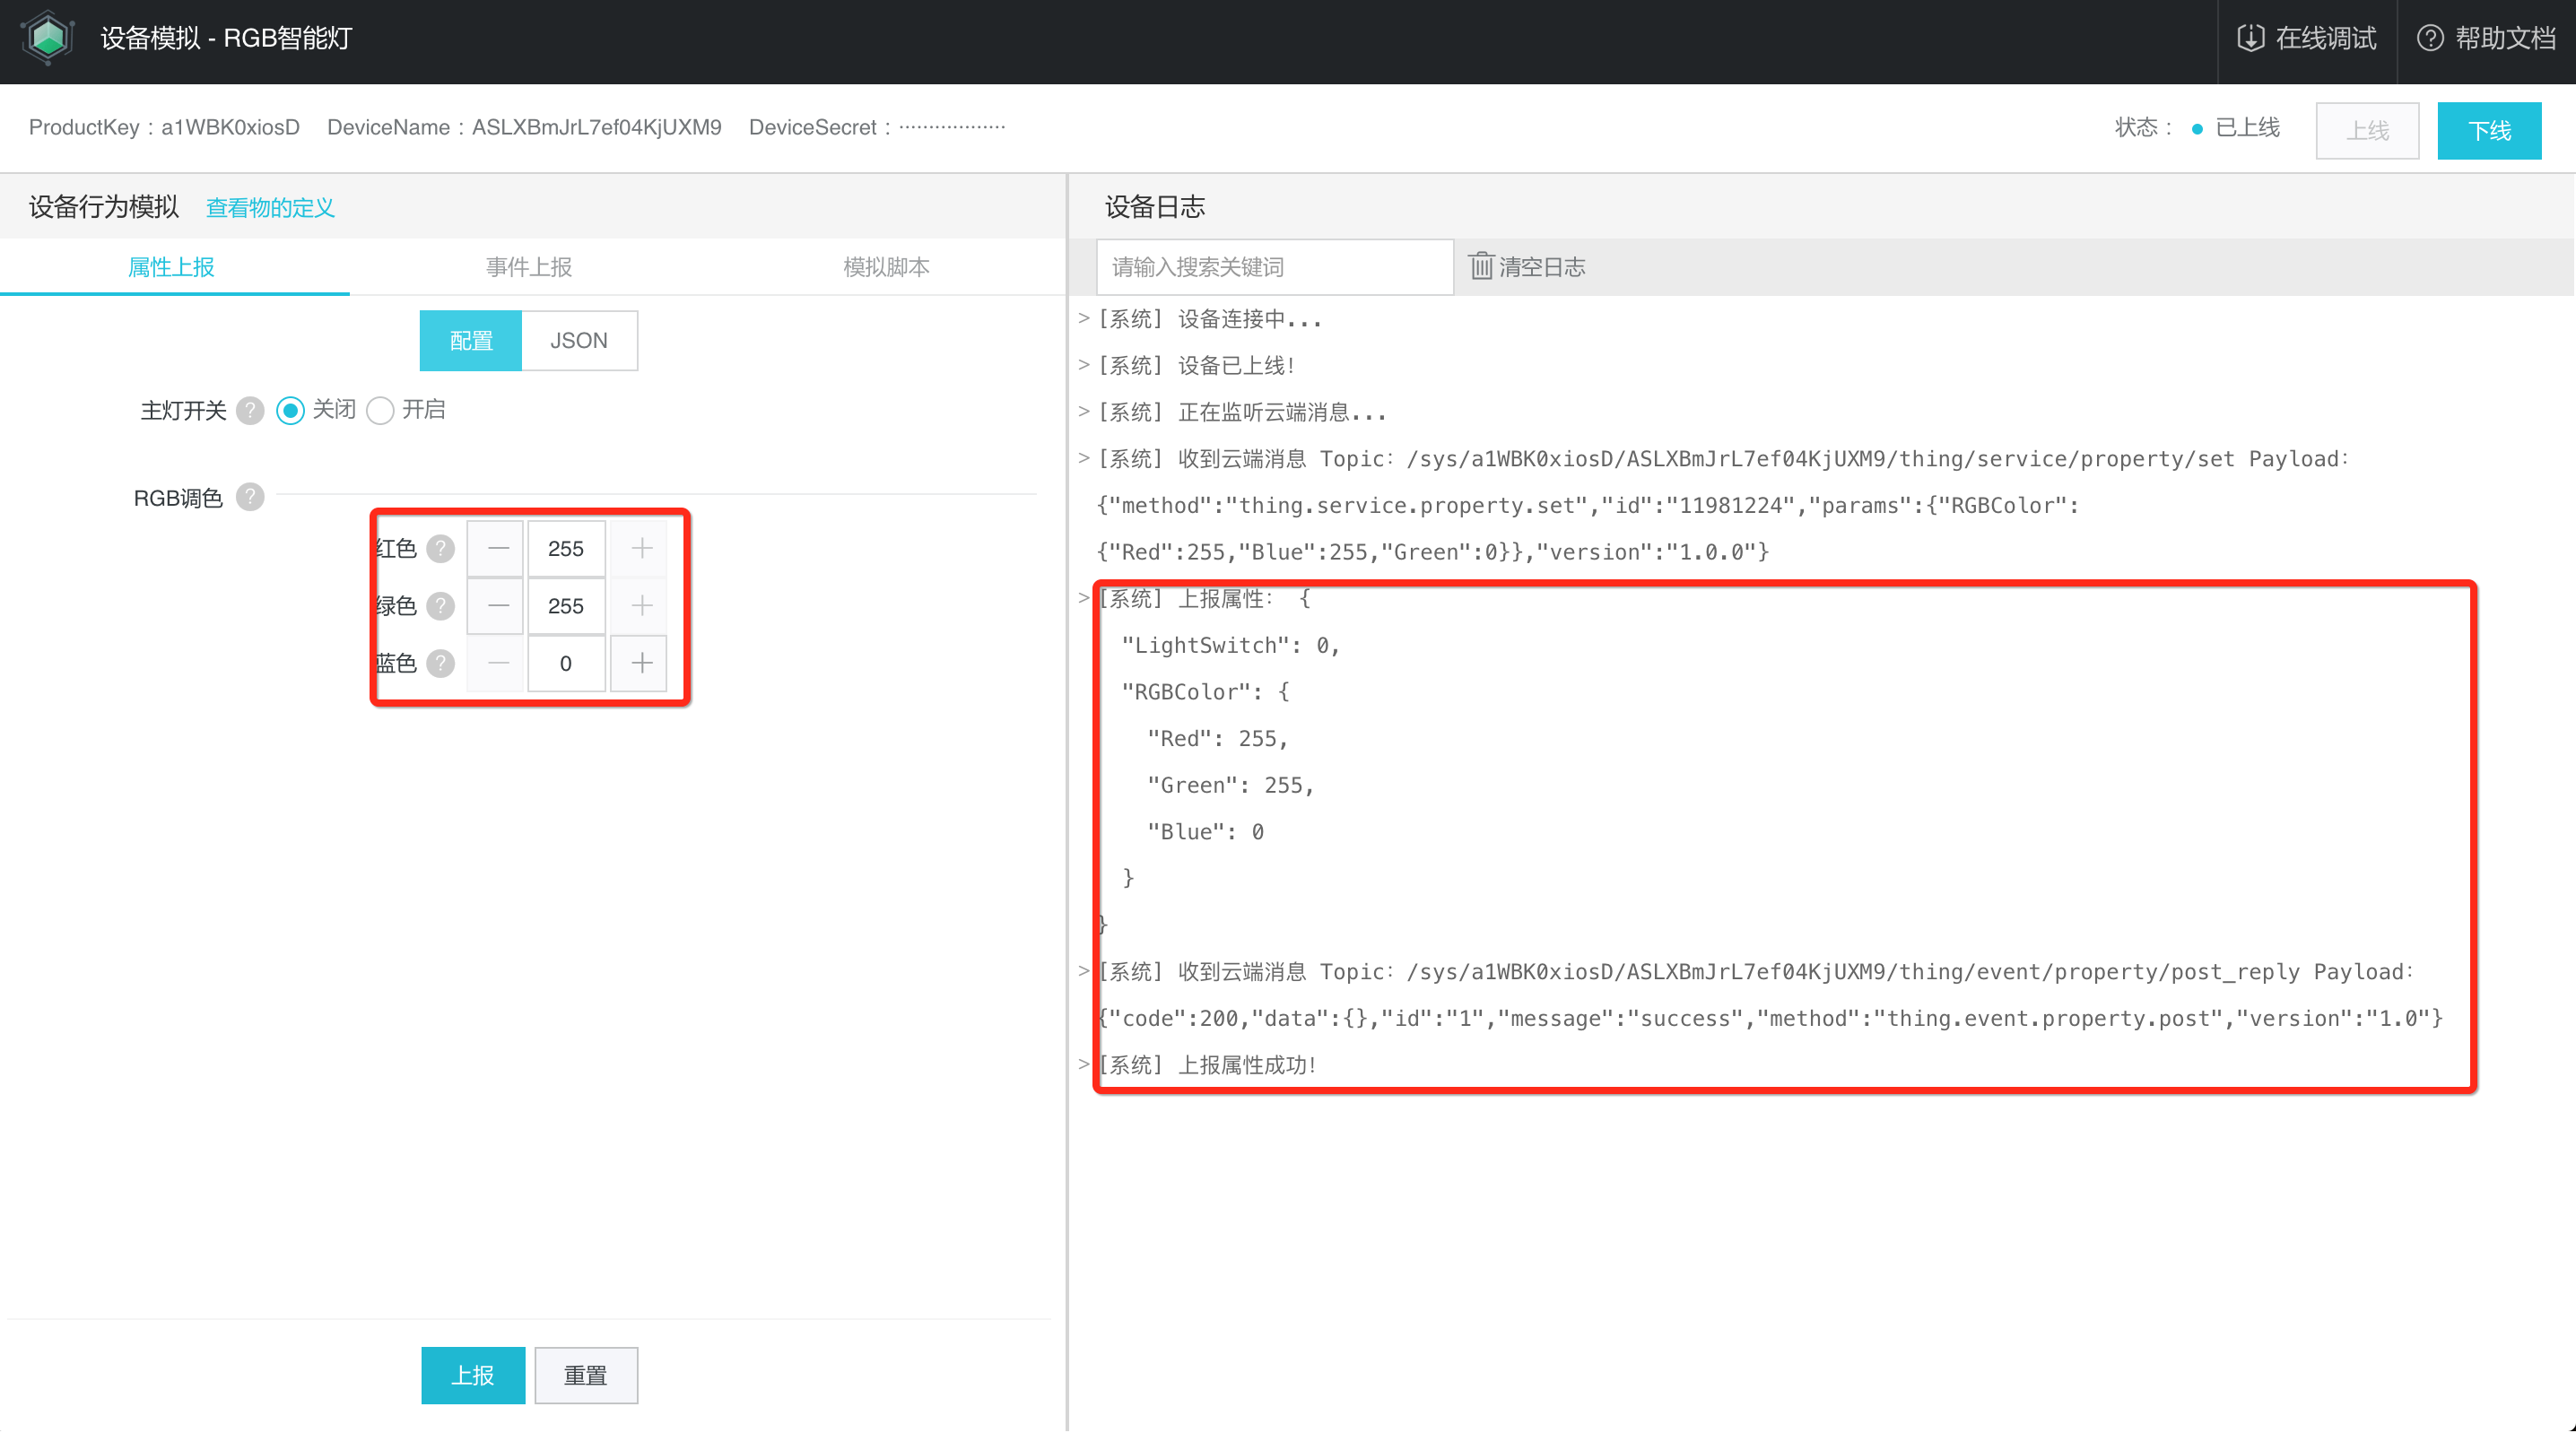
这时候我们再刷新 http://127.0.0.1:7001/ 应用页面,发现属性输入框已获取到最新的值:
至此,第三方应用的开发就完成了,那么恭喜你完成了 IoT 应用端到端的全链路开发!
应用发布
目前 Link Develop 没有提供服务端应用的托管能力,请购买阿里云 ECS 或者第三方服务器进行应用托管发布。
egg 部署手册:https://github.com/eggjs/egg/blob/master/docs/source/zh-cn/core/deployment.md