WEB托管应用开发-step6.插件集成
更新时间:2017-12-22 17:19:28
章节概述
本章讲解:Web应用通过什么方式集成Web插件。
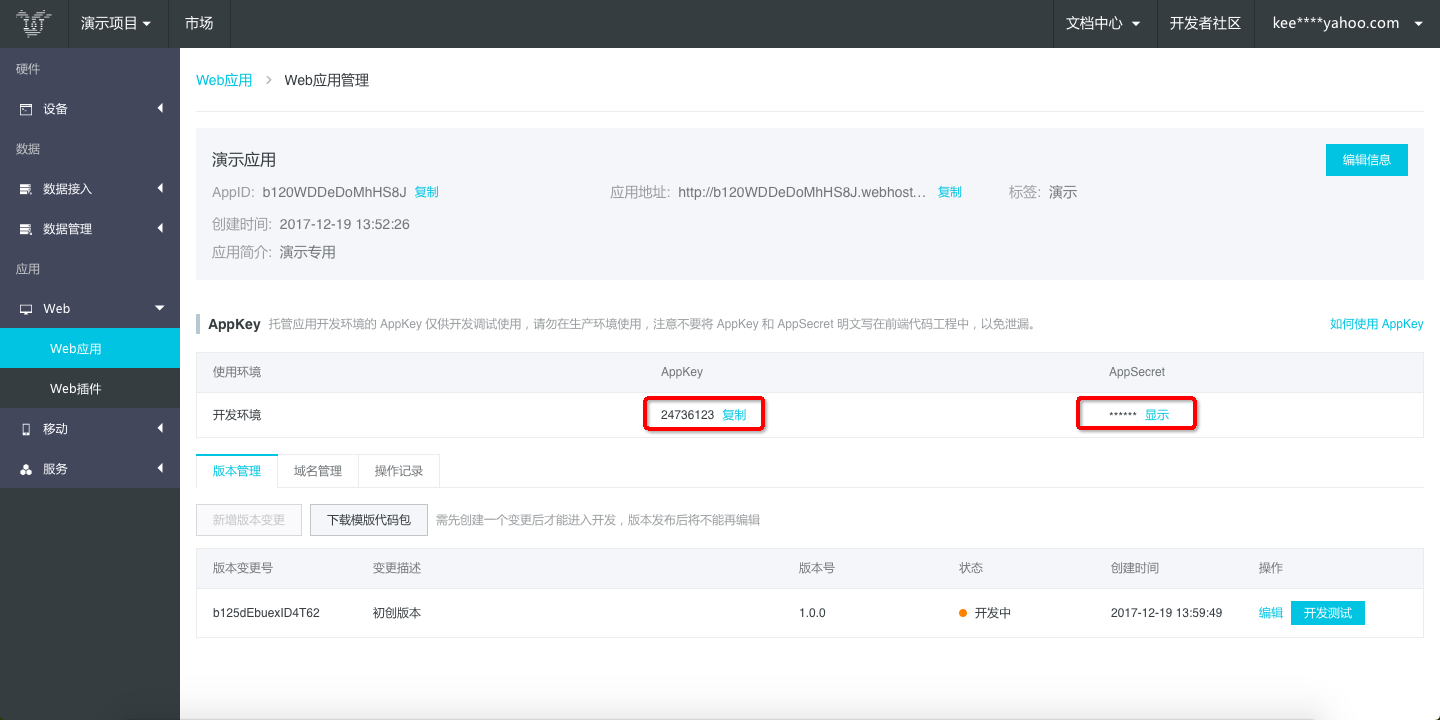
测试 KEY
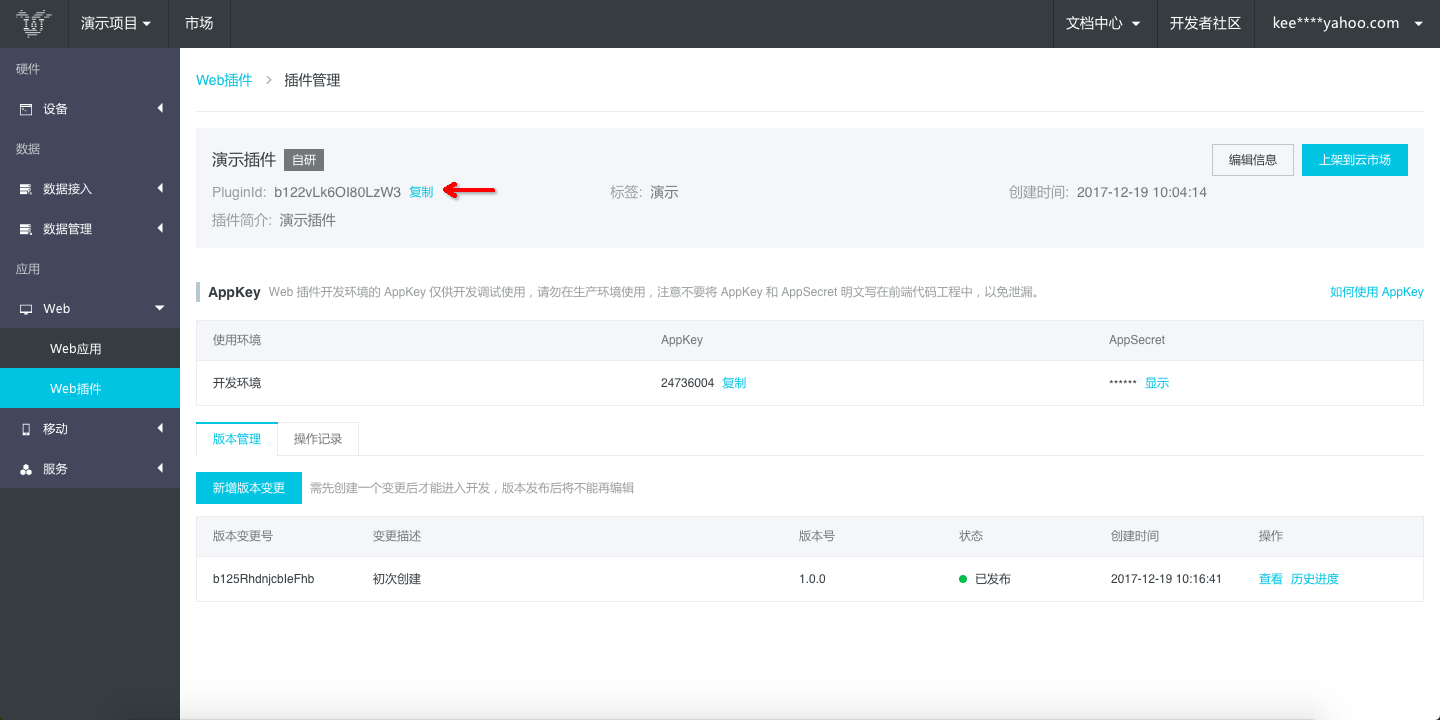
开发环境 AppKey & AppSecret:
添加权限
*注意:在进入应用开发前,最基础最必要的操作,否则后续的开发工作无法正常进行。具体情况为开发过程中,依赖一个最基础的官方服务-“应用与插件服务”,这里将介绍如何把该服务添加到项目中,以便在后续应用开发的环节可以使用到它。
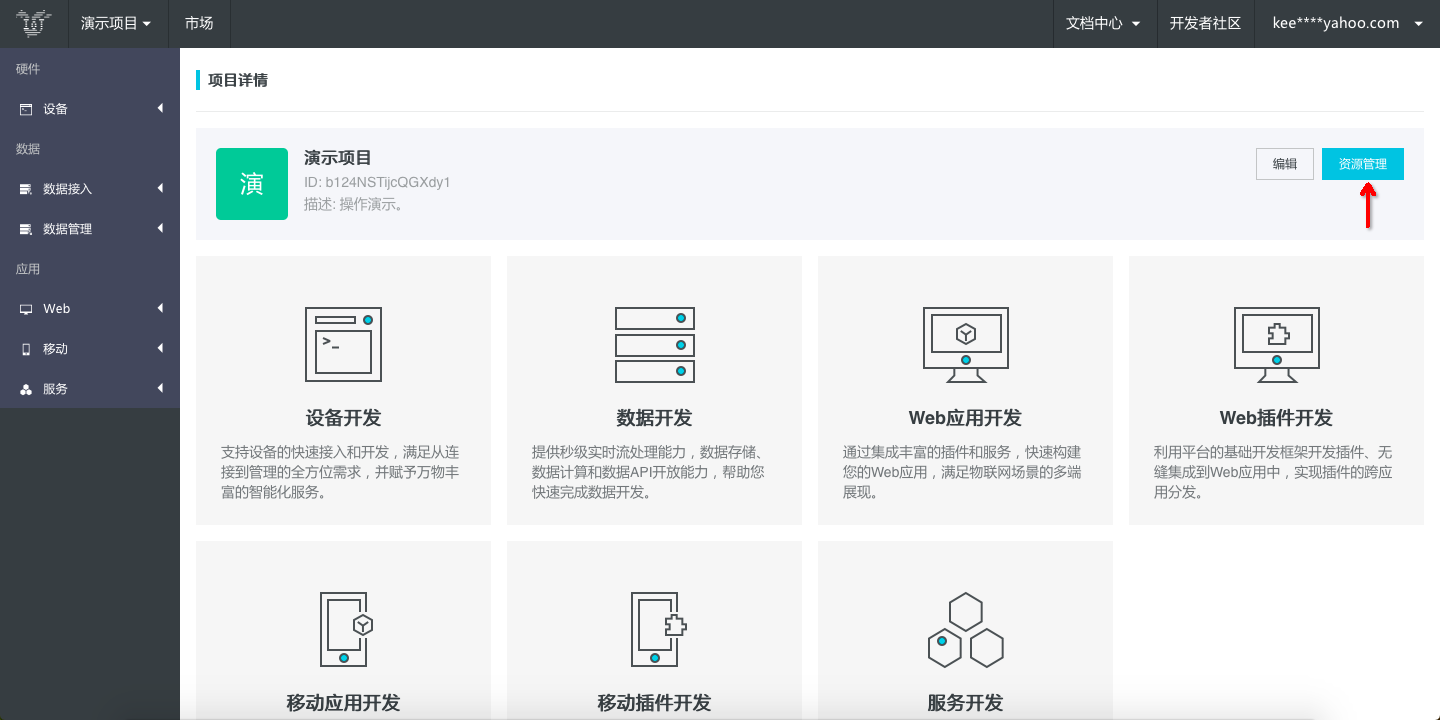
进入管理控制台-项目详情页,点击右上角“资源管理”:
选择可用服务:
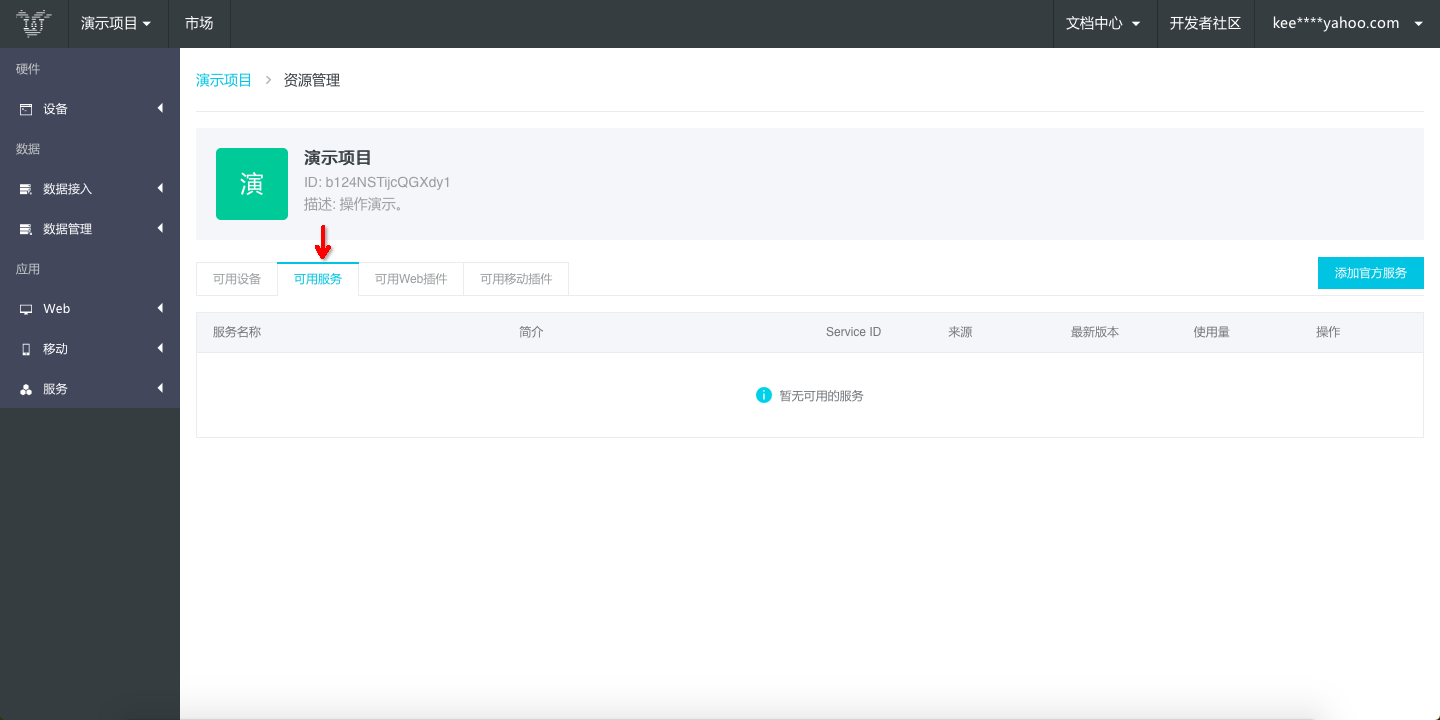
此时,由于还没有添加任何服务到项目中,所以该列表为空。
*注意:除自研服务自动归属项目,官方服务需要在资源管理中手动添加到项目内,一旦添加到项目内,在应用开发环节中,便可以被关联使用;插件亦然。
点击添加服务,开始添加操作:
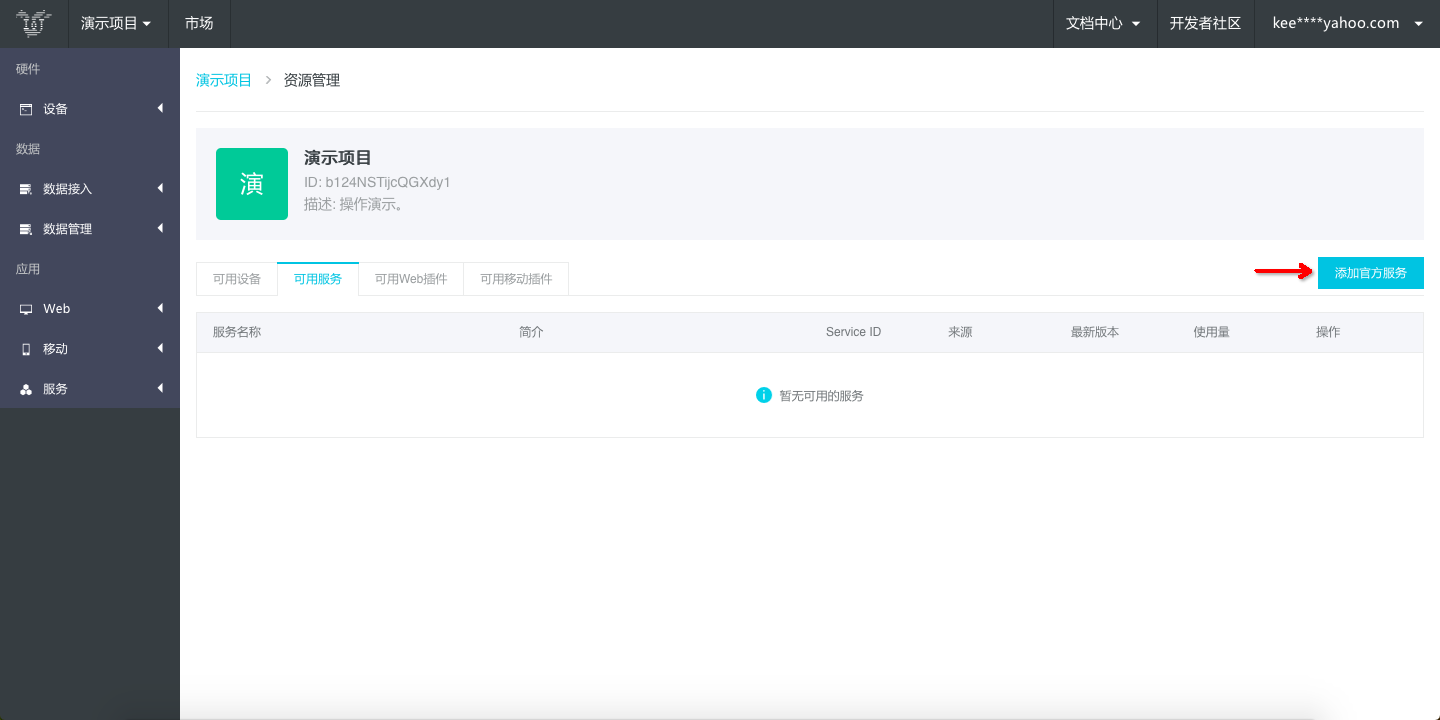
在可用服务列表中,找到并选择“应用与插件服务”,勾选后点击确定,完成操作:
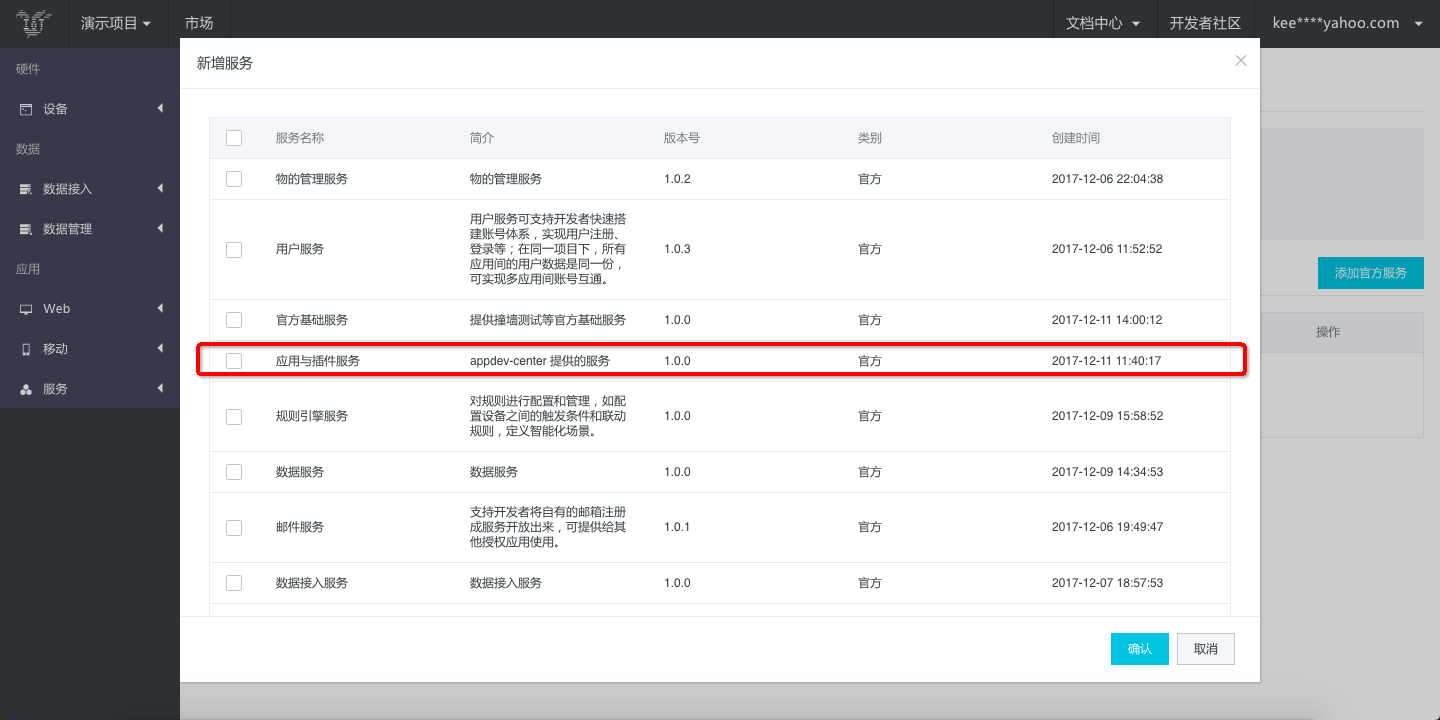
*提示:在本步骤中,视具体开发项目,建议将后续开发会用到的官方服务都添加到项目中。
添加完成,请务必保证“应用与插件服务”在列表中:
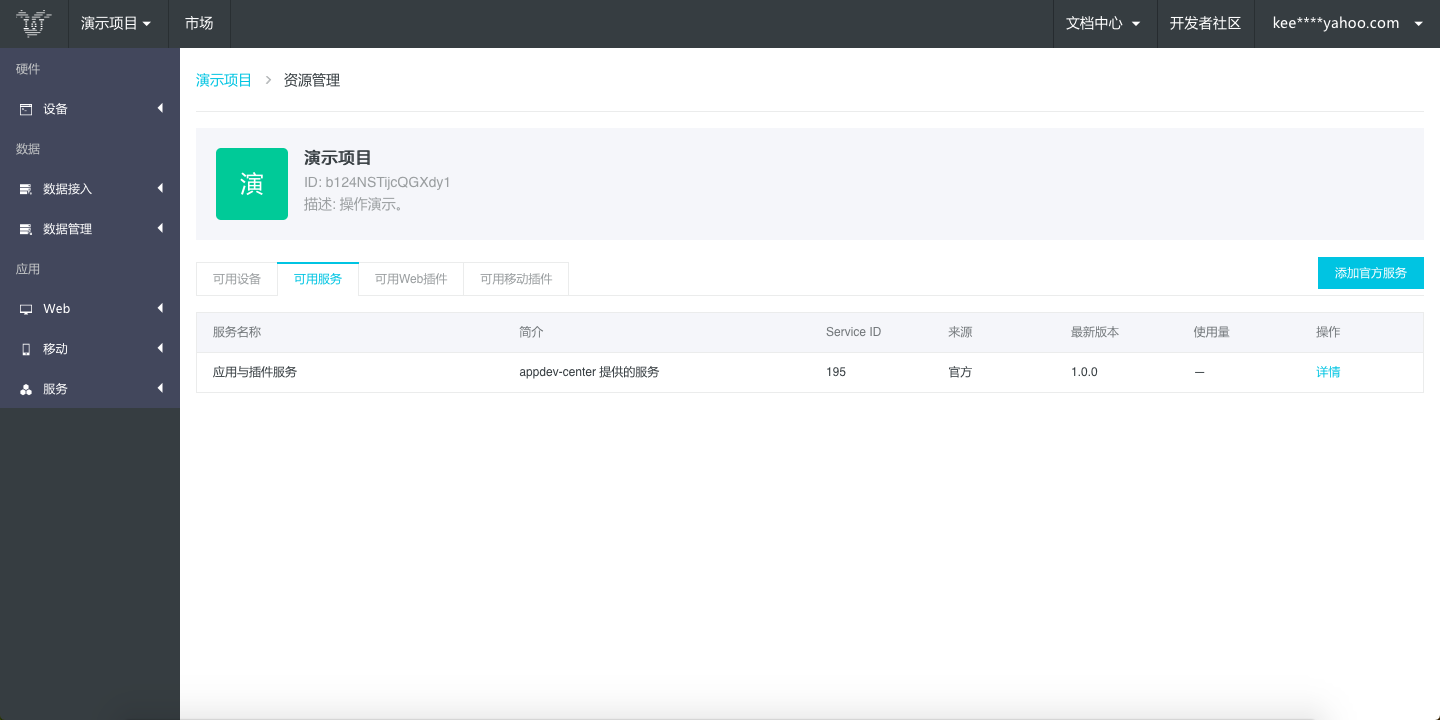
*提示:在后续应用开发过程中,每个版本的开发,都务必关联上这个服务,否则开发无法正常完成。
插件 ID
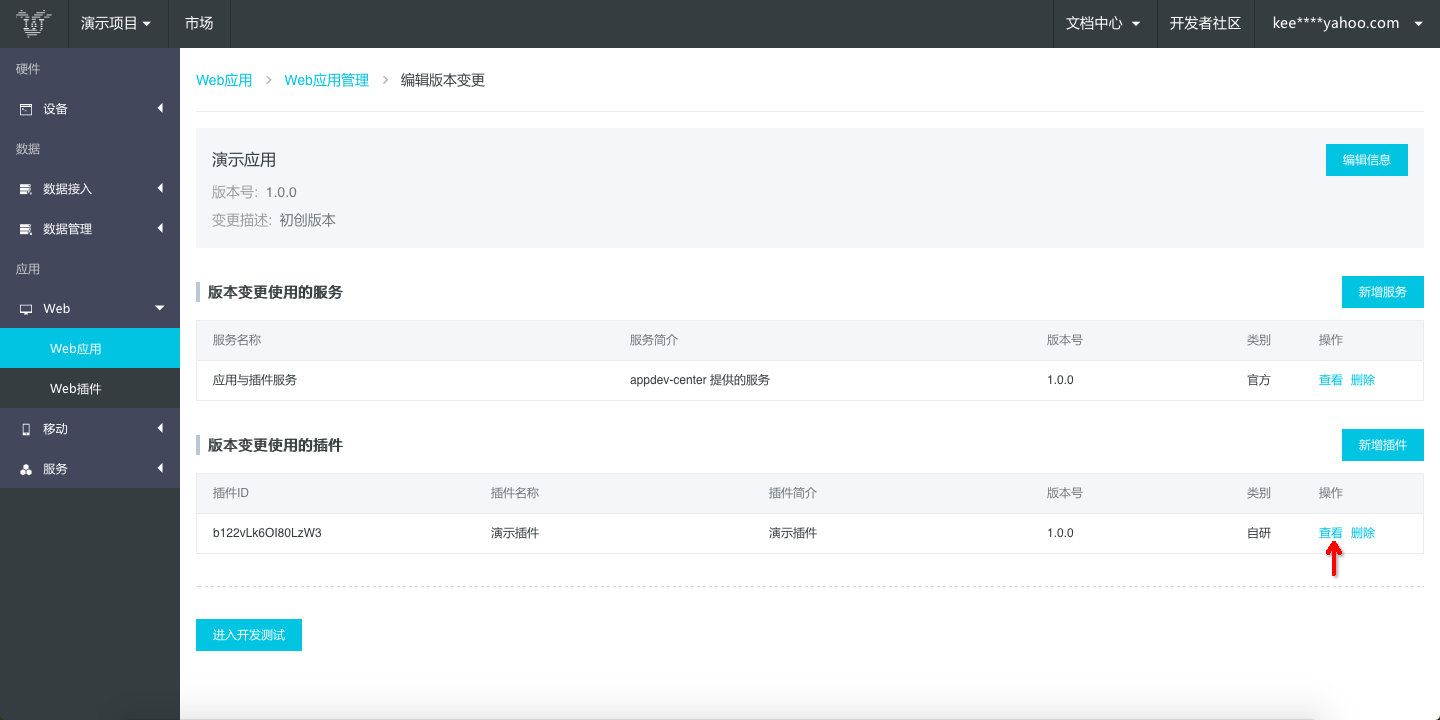
进入应用版本变更详情页面,查看插件详情,点击“查看”:
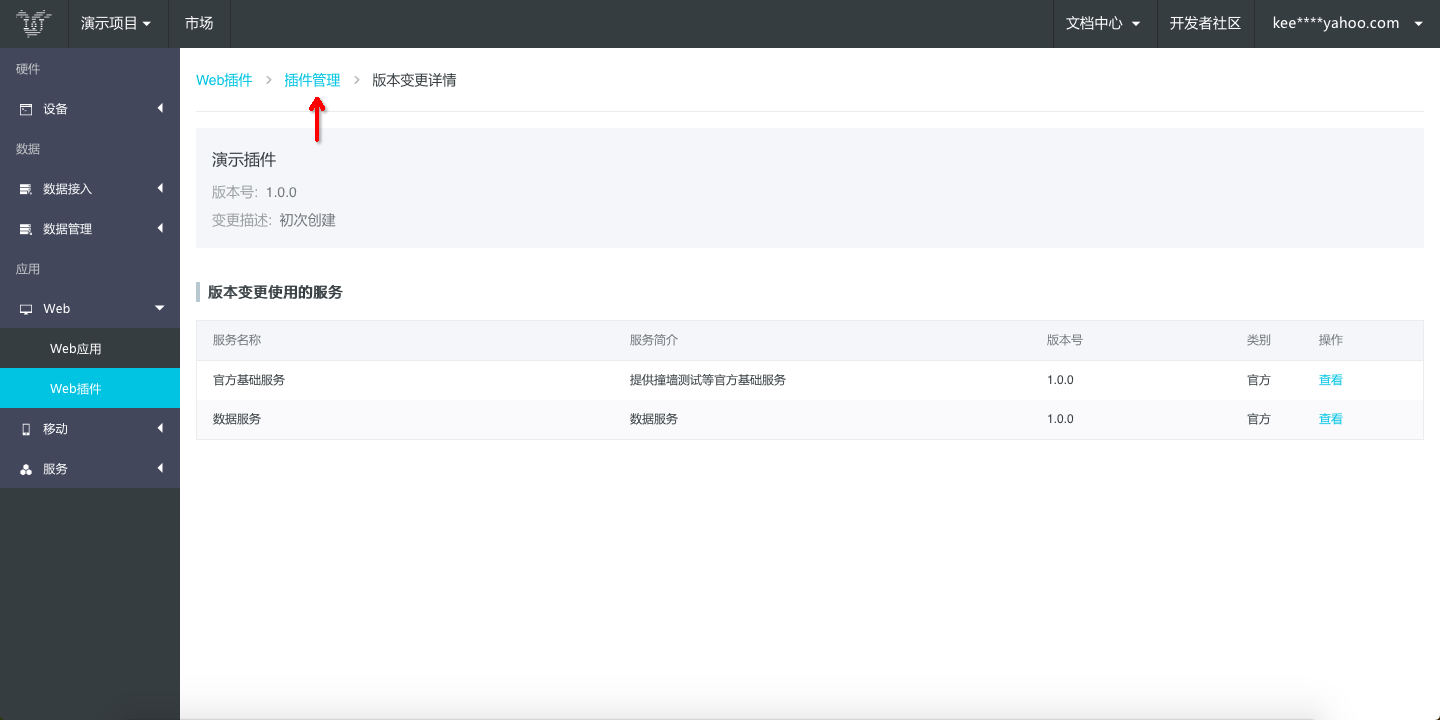
进入需要集成插件的版本详情页,复制“PluginId”:
依赖库
插件加载容器 iot-plugin-panel
import IotPluginPanel from '@boneweb/iot-plugin-panel';
详情请参考“开发资源”
编写代码
import React, { Component } from 'react';
import IotPluginPanel from '@boneweb/iot-plugin-panel';

export default class Home extends Component {
    render() {
        return (
            <div className="counter">

                <h1>这是应用集成插件示例</h1>

                <IotPluginPanel id="a122ZD7srvgLGdRB" api="https://official.api.feifengiot.com/app/manifest/webplugin/router"/>

            </div>
        );
    }
}
注: 参数说明(请参考开发资源 iot-plugin-panel)
| 参数 | 说明 | 类型 | 必填 | 默认值 |
|---|---|---|---|---|
| id | 插件ID | String | true | - |
| api | 获取插件api,请务必使用当前应用所在平台api接口,否则会鉴权失败。飞凤平台:https://official.api.feifengiot.com/app/manifest/webplugin/router |
String | true | - |
调试
填写“开发环境 AppKey & AppSecret” :
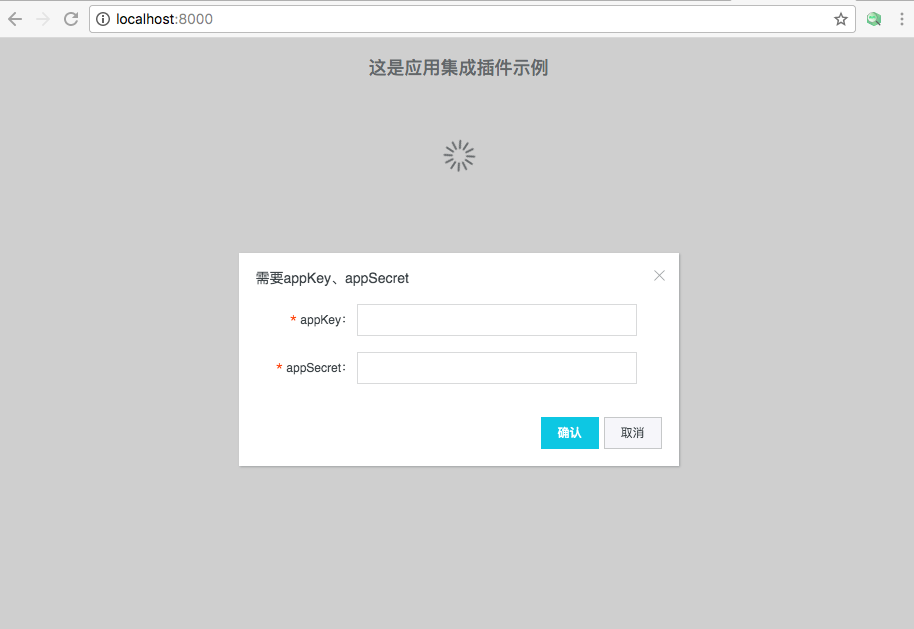
AppKey 仅供开发调试使用,请勿在生产环境使用。
不要将 AppKey 和 AppSecret 明文写在前端代码工程中,以免泄漏。
填写正确 AppKey 后,您就能看到您的插件了
预览
查询插件:
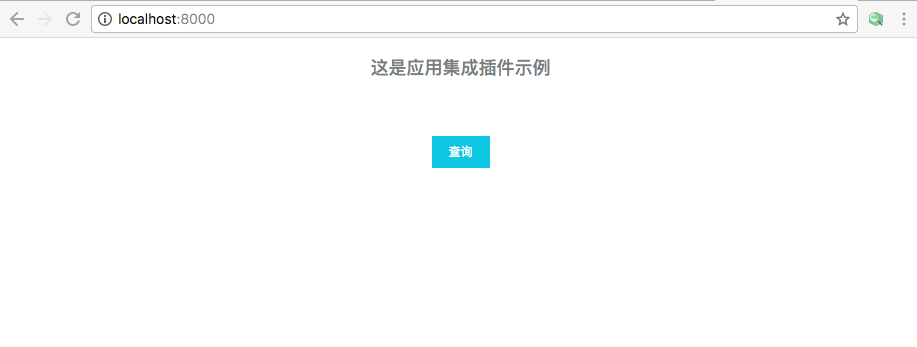
至此,您已经完成了应用集成插件的需求,是不是非常简单的?